Showing posts with label underwear. Show all posts

Sunday, March 16, 2025

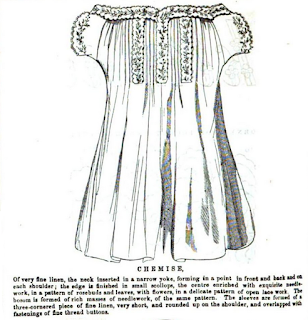
Chemise Embroidery Designs, 1856-1860

 Looking through some old notes, I found these embroidery patterns for chemises (bands, yokes, and sleeves) from the late 1850s. I don't recall planning an embroidered chemise at that time, though it is certainly nice to dream.


Chemise Band embroidery from Peterson's, June 1859.

And yokes from the February and August 1859 issues of Peterson's:
And September of '57:

Many chemise band, yoke, and/or sleeve embroidery patterns from Godey's 1856-1857:


A nice simple embroidery design from The Hesperian, May 1859

Arthur's Home Magazine (1860) has three designs for chemises with embroidered components in their (with the embroidery described, though no patterns are not given). I'm including these because they give some interesting ways the embroidered segments can be used (aside from the obvious 'band or yoke across the top, sleeves at the sides').
 

Saturday, March 30, 2019

Short Stays, 1795-1805

Drafted out of the 1795-1805 example in Regency Women's Dresses.

I realized half-way though that this should have been a photo tutorial, so...here's a half-illustrated one.

I started by scaling up the book pattern, whereupon I realized that the scale provided is... not right. As given, the 'short stays' allegedly have a 17" center front and 23" center back length. For comparison, my 'long stays' (which run from mid-bust to upper hip) have a 14" busk.  Halfing the given scale (1 square = 1/2") gives a 8.5" center front, which more closely resembles the provided illustration, with the lower edge of the stays reaching the bottom of the rib cage.

Anyway, I drafted my stays using the half-scale length, and adjusted the width to my personal measurements. Since most squishyness is up front, I measured between my shoulder blades, and widened the back pieces of the pattern to that measurement by the 'slash-n-spread' method. For the front pieces, I kept the area near the underarm curve at the initial proportions, and used slash-and-spread to widen the central area of the front pieces. After the first test, I ended up removing nearly 4 inches from the center front, and re-shaped the center back seam to suit the curvature of my back. Much of the curving 'tail' of the original pattern did get revised out this way.  I also cut the straps extra long, and then shortened them to fit.

Once I had a working pattern, I cut out a double layer of heavy linen (four copies each of front, back, and strap pieces), and marked the boning channels on the inside layer.

The original garment was apparently stitched by whipping together the individual pieces (the raw edged being turned in and sandwiched between the inner and outer layers).  Being short on time, I changed this to machine sewing in the following way:

1. Prepare the two straps by folding in the seam allowances on the long sides of the four strap pieces. Match up inside and outside layers, and topstitch the long edges. 

2. Sew together two front and two back pieces to make the lining; repeat to make the outer layer.

3. Baste the straps to the lining.

4. With right sides together, join the lining and outer layer, by stitching along the upper edge. This will sandwich the short, raw edges of the straps between the two layers. [I nearly just pressed the seam allowance and top-stitched this, but I wanted the straps well-secured before doing so].

5. Turn the stays right sides out, press the seam allowances all around the raw edges, and top stitch from the center front, over the previously sewn upper edge (to help stabilize it further), and down the other center front edge. 

6. Stitch the boning channels. I started at the center back, paying particular attention to the side seams, where short angled bones meet at the seam. I did the ones on the back pieces as normal, and inserted the bones; for the second set, I stitched the uppermost seam, slide in the bone along the long side of the eventual channel, stitched the middle seam (between the two bone channels), slide in the second bone, and then finished the channel. After all four bones were in place, I top-stitched over the side seam, sealing off the four channels. The angled bones at the center front are more straightforward, but do need to be stitched and inserted before the stitching the vertical channels at the center front.

The side-back seam of a pair of linen short stays, with black lines marking the location of pairs of bones.
The tricky meeting of short, angled
boning channels at the side seam.
7. With all the channels stitched and bones inserted, topstitch over the lower edge (the raw edges having previously been folded to the inside).

8. Mark and make the lacing holes at the center front. I used two-piece metal grommets. Hand-bound eyelets would be more accurate, but time is an issue here. And my particular shape will be putting a lot of strain on the lacing...
Center front portion of linen short stays, with three applied grommets, and a setting die in place for the fourth. Wooden mallet net to the stays.
Inserting the grommets. As always, I put one in backward.
9. I gave the garment a final press to remove the guidelines I'd drawn in for the channels. [Maggie K. turned me on to using friction-erase pens, which come out with the heat of, say, an iron.] In retrospect, this would have been slightly easier before inserting all of the bones...

The same side-back area of the stays as in the first picture, but with the channels markings erased, and the actual channels sewn.
But seriously, this ink comes out much faster
and neater than water-soluble pens.
And there they are. The short stays are quite comfortable, and very easy to put on, though I like the shaping of my long stays rather better.

Completed front lacing short stays.
Finished stays.

Sunday, July 24, 2016

Linen Smock

Made from instructions in The Tudor Tailor.  The material is 2 oz white linen from Dharma Trading Company.  It's all hand-sewn with cotton thread; linen thread was used on the fasteners (including the three thread-covered buttons).

Repro 16th century linen smock.
Linen smock, 16th century design from The Tudor Tailor.
It could use some ironing.
Thread button and hand-sewn buttonhole on repro 16th century smock.
Cuff. These are the second nicest buttonholes I've sewn.
Collar and thread button close up, repro 16th century smock.
Collar and neck fastener.

Wednesday, February 24, 2016

Corded Petticoat

Much like the last one, this corded petti has an extended hem facing, containing 53 rows of narrow cotton cording.

Reproduction corded petticoat.

Close-up of the cording set into the hem.

Tuesday, July 7, 2015

1850s Infant Clothing

Here's a few more recent pieces for the Ft. Nisqually volunteer wardrobe.  I'm currently working my way through Liz Clark's pattern for infants' undergarments (Sewing Academy/ Historic Moments Patterns-100: Infants' Linens).

Shirts (one "open" back for 0-3m, and three closed shirts for older babies):
Infant shirts, 1850s/1860s style, from the Sewing Academy-100 Infants' Linens Pattern.


Underdress/ "flannel":

Flannel or underdress, from the Sewing Academy-100 Infants' Linens Pattern.

Caps, stays, petticoats, and drawers are next on the list.  Then on to gowns!

Tuesday, April 14, 2015

Mid-Nineteenth Century Gored Corset

Updating my gored 1850s/1860s number.  It started life as the Simplicity 2890 corset (pattern by Kay Gnagey).  After two alterations, I got the bust gussets to the almost-proper widths for me.  Following Liz Clark's advice (and scissor-work) at the Nisqually workshops in October, there are now four additional hip gussets in the side and side back; the back gusset has also been re-sized, and the entire upper front extended by 2". I also added some additional boning, to help support the extra swaths of fabric.  Additional fitting advice from the SA ladies, and some final gore re-shaping/ change of bone placement from Dana, and voila:

Gored mid-Victorian corset for 1850s and 1860s wear.

Corset on dress form, to better show the shape.

I've decided that I still hate sewing in gores, but that they can be effective.

Tuesday, April 7, 2015

Corded Stays, 1860s

Using the suggestions in The Dressmaker's Guide, I adapted the Simplicity 9000-series shaped-seam corset into corded stays for Mom.  For a wide variety of reasons (most pertinently, that her first/only-planned event is a 4 mile walk) I think she'll find them more comfortable--or at least less unfamiliar--than the steel-boned corsets I favor.

In an ideal world, after the initial measurements, I'd baste some plastic boning onto a single-layer toile, adjust the fit and then build the real corset sandwich style, putting the seam allowances between the layers.  Since I'm on a time budget, fitting over a distance, and likely to be recycling/remaking this garment in the future, I instead kept the two layers of each piece together and have the seam allowances visible on the inside.  This allowed me to do some of the cording before fitting (adjustments will be made at the seam lines, so cord channels down the center of each piece will be safe).  I also worked the button-closures and set the lacing-grommets in advance, as those portions are straight lines and fastening points, ie, unlikely locations for seam tweaking.
Handsewn eyelets and buttonholes for corded stays.
Corded pieces, showing eyelets and button holes
My grommet setting tools, however, had ideas of their own, and went into open rebellion while working on the back pieces.

With the pieces basted together, Mom tried on the ultra-lightly-corded stays; I pinned out excess fabric at the seams, until the garment fit smoothly and snugly.  After re-stitching the seams along their new lines, I added additional cording channels along each.  Finally, the raw upper and lower edges were finished with self-fabric bias binding, and the seam allowances were  whip-stitched against fraying.
Mid-19th century corded stays with front button closure.
Finished Stays
Vital Stats: Front fastens with 9 bone buttons (hand-worked button holes); back adjusts with 26 hand-sewn thread eyelets; stiffened with two 1/4" spring steel bones at center back and approximately 92 vertical rows of cording running down the center of each piece, at the center front and back openings, and along the seams.

Friday, March 27, 2015

I am the queen of handsewn eyelets...

...or my grommet-setting die started chewing up fabric, ruining two otherwise finished back pieces for these corded stays.

Hand sewn eyelet and button holes on an 1850s style corded corset.

More pictures to come.

Wednesday, March 25, 2015

Pattern (Kit) Review: Kayfig Cage

Finally finished my new 108" cage crinoline, from the Originals by Kay kit which I received for Christmas.

108" Cage crinoline made from the Originals by Kay kit.


Back view of cage crinoline from Kayfig kit.


The cage went together rather easily.  The instruction packet lays out the measurements clearly, and walks you through the appropriate marking and assembly steps.The only sewing that is required is making up the waistband and attaching the tapes to it, but you're on your own for that, so sewing experience is assumed. The buckle caused me a some confusion at first, but that was primarily the result of over-thinking it.  

I much prefer using rivets to attempting to sew through the buckram, as I had previously done; that being said, I didn't like the way these rivets went in.  They had a tendency to deform when hammered; I tried varying my setting method to ameliorate this, but without luck.  I don't have enough experience to say whether these rivets in particular are the problem, whether my technique was incorrect, or whether rivets always bend that way.  They seem secure so far.

What You Get: Instruction packet (3 pages front & back, with placement diagrams)
1.5 rolls of hoop steel (about 45 yds)
16 end caps
c. 10 yards cotton tape
77 2-piece rivets
buckle

Items needed: waistband; pliers (to attach end caps), hammer (to set rivets), bolt cutters (to cut hoop steel), punch and/or awl (to make rivet-holes in the hoop steel and tapes, respectively) 

Pattern Score: 4 stars

Difficulty: Advanced Beginner--little sewing is required, but that is unguided; for the rest, spacial reasoning and ability to follow instructions are more relevant than sewing experience

Accuracy: Citations not included, but the materials are period.  Most of the images* I've seen for uncovered cages used smaller gauge wire in large quantity, like the needle & thread kit, but I'm satisfied with the shape.  

General Impression: The main things I like about this kit is that the math and proportions are all pre-done, and the hoop steel and tapes are of good quality.  I didn't like the grommets, personally. Still, it went together fairly easily, and makes a nice shape.  The instructions were very compact, and could use a little more detail at times.  This kit is the cheapest option I've found for making a good quality '60's cage, and my only lingering concern is those annoying rivets.


*Edited to add: three of the period illustrations in Nora Wraugh's Corsets and Crinolines show cages c. 1856-58 with the wider steels like this.

Tuesday, March 10, 2015

Corded Petticoat (human-sized)

Recently finished project (now happily winging it's way to a certain deserving lady in MN):
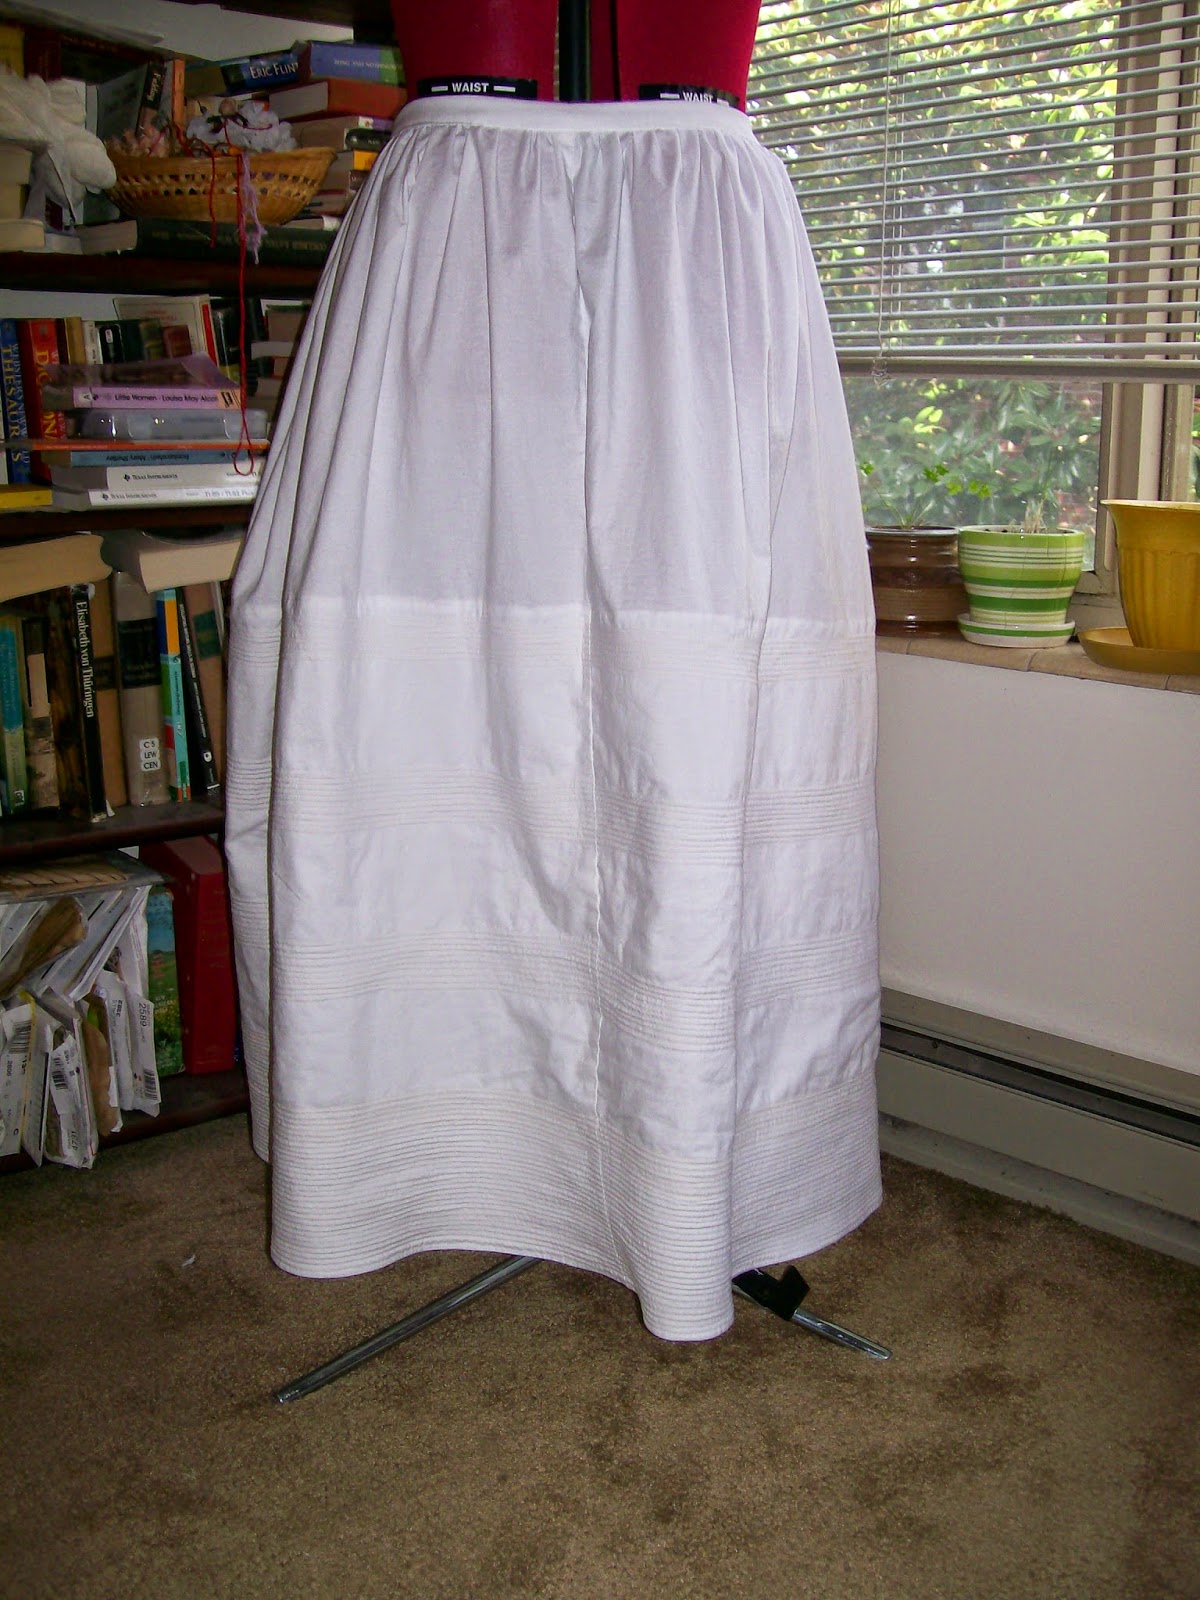
Corded petticoat for 1850s wear.

Detail of cording in white cotton petticoat, pre- Civil War.

Vital stats: 90.5" circumference at the hem; finished length 35" at CF, 37" at CB; 20.5" self-fabric facing, containing 58 rows of cotton cording, or approximately 145 yards; fastens at center back with two bone buttons; total weight 1 lb 6 oz.

Wednesday, February 11, 2015

Regency/Empire Stays, part III

With the front panel complete, it's time to assemble the rest of the stays.1

Working from front to back, I "sandwiched" the completed section between each two new layers.  So, for the first in-seam gusset (cut in two layers to permit the sandwich), the outer layer of the gusset is laid right-sides-together with the outer front panel, and the lining layer is set right-sides-together on the front lining.  I then stitched the seam through all four layers (gusset shell/front shell+lining combo/gusset lining), and pressed the gusset out.  The front+gusset is now the completed section and is treated as one.  To add the side section, the side shell is laid right-to-right over the front+gusset, the lining is treated the same, and the process is repeated.  The hip gusset in the side piece was made in a single layer, and treated as the bust gussets in the front panel.  Boning channels were stitched between the shell and lining after the two were attached and pressed flat.

To make the back section, I joined the shoulder straps to the back pieces (L shell to L shell, R shell to R shell, R lining to R lining, L lining to L lining), and then joined each back piece to its lining, along the center back opening.  I did this to make a clean center back, without binding (leaving more space for the bones and eyelets).  Pressed the back pieces flat and stitched the back boning channels (butted into the CB seam, and another 1/4" away, leaving space for the eyelets in between.  Made the eyelet holes with an awl and applied 2-piece metal eyelets (size 00) with a setting anvil.  Following the method in Period Costumes for Stage and Screen, the eyelets are paired, but with an extra off-set at the eyelet at top and bottom for internal spiral lacing.  [My initial attempts to don the garment with spiral lacing were unsuccessful, so it's displayed below with cross-lacing.]

Made remaining back-boning channels as before.  I then joined the back and side+gusset pieces by sewing the shell only (usual right-to-right and open method).  The lining was folded over (to cover the raw edges) and topstitched.

The straighter boning channels (short slanted bones on the front, center back pairs, side hip) received 1/4" straight steel bones.  Curvier sections, particularly along the panel joins, used 1/4" spring steel.
(To see the difference, I've put up explanations of the different steels here).

Prepared bias edging of tightly-woven cotton (also used for some of the lining pieces), and attached it along the top edge--including both straps--and the bottom, encasing all remaining raw edges.  Added 8 thread eyelets to fasten straps (two per strap, and two at each side of the bust).


Completed Regency/Empire Stays.
Finished stays, front

Side back view of 1820s Stays from Period Costumes for Stage and Screen.
Finished Stays, side back

Front side view of early 19th century-style stays.
Finished stays, side front

1. For the record, I know that the French First Empire dates 1804-1814 and the English Regency period ran 1811-1820, but I am using the terms in the expanded sense, to cover the neo-classical fashion of dress which was popular approximately 1795-1830.  My apologies to anyone who is bothered by this construction.  I have been known to flip out over similar misuses of the term "Victorian" (1837-1901) to denote "pre-1920", "1870 or later", and/or "looks sort of old".


Tuesday, February 3, 2015

Making a Regency Petticoat

The petticoat bodice combines the petticoat with a sort of short stays; but for use with my long stays and chemise, I need an actual petticoat.

Period Petticoats:
Early 1820s petticoat from the Museum of Fine Arts Boston.
 Petticoat, c. 1820-1825, MFA
Early 19th century petticoat, from The Met.
Petticoat, early 19th century
from The Met.

Early 19th century petticoat, front and back view, from janeausten.co.uk.
Petticoat, early 19th century, janeausten.co.uk,
also featured on 
The Oregon Regency Society,
but an original post with context has not been found.
 

The petticoat is basically a skirt.  Given that the stylish "waist" of the period falls at the underbust, the petticoat may have shoulder straps to hold it in place, or even an abbreviated sort of bodice.  The two (admittedly not closely-dated) examples with back views show significantly more gathering at the back of the petticoat than at the front, with what may be a drawstring or tie fastening the center back.  The description of the MFA (bodiced) petticoat mentions waist and neckline drawstrings and a tie closure at the back.

For my petticoat, I cut a rectangle of white cotton 45" x 90"; sewed it into a tube, leaving a 12" opening at the top back; and hemmed the bottom (1.5" doubled).  I then gathered upper edge by hand, prepared a waistband to my underbust measurement (measured over the corset), and enclosed the raw edge of skirt in the waistband.  While doing so, I concentrated the gathers towards the back, as with the bodiced petticoat--ie, half of the skirt gathered to the back quarter of the waistband.  Twill tape ties fasten the center back; this seemed easier than a button closure for dressing oneself.  Shoulder straps of twill tape are attached to the waistband.
Reproduction Regency petticoat with shoulder straps.

Reproduction Regency petticoat, full gathered back with tape closure.


Sunday, January 18, 2015

Regency Stays, Part II

Finally satisfied with the fitted mock-up, it's time to start on the real stays.

Using the mock-up pieces as a pattern, I cut all of the pieces out of linen.  Gores are being worked as single layers, straps and "body" pieces as double layers.

To conceal the seams between layers, I'll be working from the front to the back (more on that in part III). The first point of business is to mark the busk pocket, under-bust quilting, and gores.  After stitching through both layers to form the busk pocket, it's time to add the bust gores.

I've found Alysaundre's Perfectly Pointed Gore Tutorial very useful when it comes to setting gores by machine.  Those tacking stitches really help.  I tried two methods of finishing the gore seams on my mock-up: in the first, I use my normal felling method for a single layer: the two "body" layers are treated as one, the seam allowances on the body pieces are trimmed close to the gore seam, and the gore's seam allowance is folded over the raw edges and top-stitched.  In the second method, I attached the gore only to one layer only, pressed the seam allowances flat, then folded the raw edges of the 'lining' layer to the inside, top-stitching over the lot.  Working with two layers, I found this approach slightly neater and easier.
Basting the pointed gores.
Basting the gore points
Gores stitched into outer layer of stays.
Gores attached to one layer only, before ironing the seam allowances
Lining of stays attached around gores.
Fold raw edges of lining to the inside
Front panel of Regency stays with finished gores.
Finished gores
With the gores completed, it was time to start in on the trapunto.  I found this tutorial particularly useful in figuring out how to approach it.  Inspired by several beautiful original corded stays, I decided to cord the under-bust area in a diamond-pattern.

I marked the diamond pattern in pencil on the reverse side (my fabric marker appears to be hiding). Intending to minimize the extraneous lines, I only marked one stitching line per row, and used the presser foot to make parallel lines at 1/8" and 1/4" to the marked line.  The area to be quilted was 3.5" tall (3" inside the horizontal border), with 1" between each 'line' (double row of cords, set in 1/8" channels).  The diamond pattern was measured from the center front, with the initial lines measured at a 45 degree angle to the busk casing.  I practiced stitching and cording this pattern on the second fitting mock-up, to make sure that it worked.
Trapunto quilting/cording on stays mock-up.
Mock up: corded trapunto quilting on the left, marked lines on the right
The cord is a cotton crochet yarn, ala sugar'n'creme, as I usually use in my corded petticoats and sunbonnets.  Not having a trapunto needle to hand, I substituted a blunt-end tapestry needle to run the cords through the sewn channels.  This worked sufficiently well, even sliding between the stitches where one channel crosses another (I tested this on the first draft to see if crossing lines would work or not).  The short length of the needle would prove severely detrimental over a larger area, but worked fine on this project.
Quilting the stays for the trapunto work.
Quilting the first lines.  The thread ends were tied on the back and clipped close.
Running cords in the stays.
Running the cords
Quilting on stays.
One side quilted!
Front panel of stays with one side quilted, and the other quilted and corded.
Contrast of layers: right side quilted, left side quilted and corded.
Detail: quilted versus quilted and corded.
Close view: corded versus quilted.
With the trapunto finished, the last thing is to add the two short bones (1/4" spring steel) along the lower, pointed sides.  To accommodate the many things going on at the top of this piece, the bones along the upper portion of the side seam will be encased in between the layers of the side panels.

Completed front panel of 1820s stays, with gores, trapunto work, busk, and bones.
Completed Front Panel