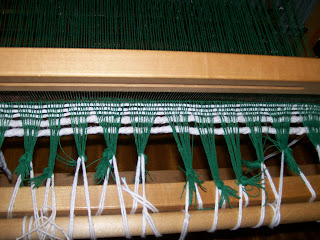
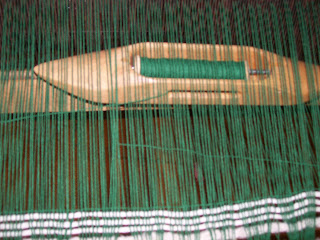
And now, to actually weave.
The weft (crosswise) thread is loaded onto shuttles for easy movement back and forth. I like the boat shuttle with its bobbins, but stick shuttles are equally effective. There are other types as well, ranging from large ski shuttles for bulky yarns and rag strips down to small tapestry bobbins with pointed ends for darning through the warp.
The first "shed" (space between the warp threads) is made by raising one or more of the heddles, leaving at least one at its neutral position. The shuttle passes through this gap, leaving the weft in between. To maintain neat selvages, the weft should be slightly angled: this way, the weft isn't under extra tension, increasing the draw-in. The shed is changed, then the reed moved forward to "beat" the new weft thread into position.
When starting a new weft thread (changing color, or just ran out), a tail of thread is left on the first pass; during the second pass, this tail is tucked into the shed, forming a partial extra row, and leaving a smooth edge with no thread ends. The same method is used to hide the ends when you're done with the that shuttle; if it will be needed again shortly, the same thread can be used, it'll just "float" along the selvage until it's needed again.
Starting colors/new shuttles at opposite ends keeps the extra threads from distorting one end or the other.
Keep weaving as long as you want the piece to be. When there's no longer room to beat evenly, the warp can be advanced by loosening the tension on the back warp beam, and then re-tightening it on the front beam (this frees more unwoven warp and wraps the finished cloth out of the way).


No comments:
Post a Comment
Thanks for commenting!