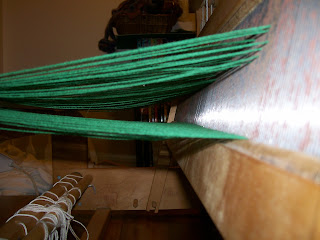
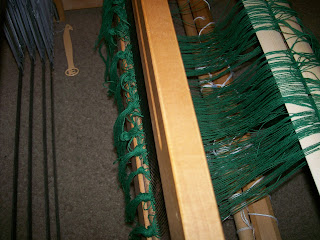
The "X" of the warp threads is maintained by two lease sticks (each thread passing over one and under the other); this helps keep track of the ends and prevent excessive crossing. Put the lease sticks with this crossed thread over the breast beam (front) of the loom, with the long tail of chained warp out front.
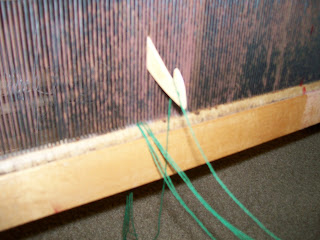
Next, sley the reed. Each cut end of warp is threaded front-to-back through a slit in the reed (which spaces and holds them apart, and allows the weft to be beaten). Reeds come in different sizes, and ideally you use one of the same "dent" as the project at hand (if you want 10 threads per inch, use a reed with 10 dents per inch). You can also double up threads if needed. I only have a 12-dent reed for this loom, but want to weave 20 epi--by threading 2-2-1 I can get 20 threads through 12 slits. If I was planning on weaving a lot of projects on this scale, I'd get a 20-dent reed.
 |
| Actually, the camera flash makes it look like this 12-dent reed needs replacing first. |
With the reed sleyed, it's now time to thread the heddles. The heddles raise and lower the warp threads while weaving, so each thread needs to go through its own heddle. These are divided between four different heddle bars, which can be raised and lowered independently. For the "rose path" pattern I'm using, the four heddle bars are threaded 1-2-3-4-3-2-1-4, repeated. So, if you want every other thread raised, you lift 1 & 3 and the same time, leaving 2 & 4 down: _ - _ - _ - _. If you only raise 3 on it's own, the shed will look like _ _ - _ - _ _ _ _ _ - _-, etc. Tabby or plain weave an be done on as little as two shafts: 1-2-1-2. A basic 2,2-twill: 1-2-3-4-1-2-3-4. Since I'm weaving on a "jack" loom, I speak of raising the heddles from their starting position: other looms will change the shed by lowering a heddle bar, or moving it forward and back (vertical looms).
The warp threads are tied off in bundles again after being put through the heddles. This is a good time to try raising and lowering the heddles, checking for crossed warp threads, which will catch on each other and produce a confused shed.
 |
| Clean shed: a good sign. |
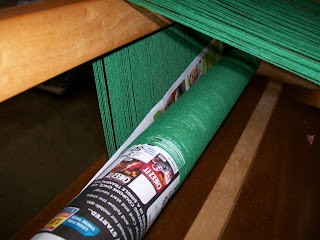
To spread the warp threads out (note how they bunch slightly moving towards the knots), some waste weft is inserted: this can be a chunky cord or fabric strip run across a few time, or even a piece of wood. The idea is to space the warp threads evenly a provide a smooth start for the actual weaving.
The loom is now fully prepared for weaving.


No comments:
Post a Comment
Thanks for commenting!