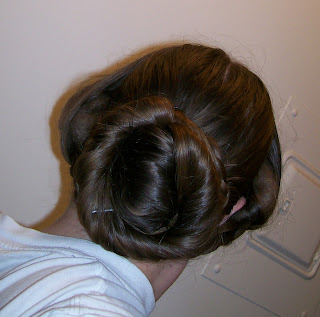
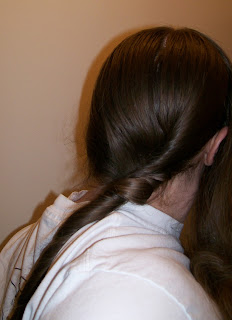
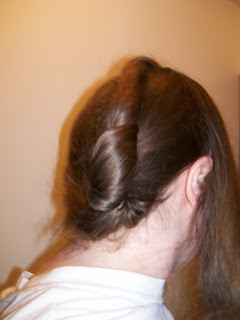
For ordinary wear, plain bands on each side the temple, drawn out wide where the size and shape of the head admit of it, are principally seen. The back hair is formed into a French twist flat to the head, around which the rest is disposed in a close circle, either twisted, roped, or braided leaving, the smooth twist displayed in the centre.I've already done the plain bands, so let's try the "ordinary" French twist center surmounted by other hair in ropes/twists/braids (/braids/braids). "The rest" is a bit unclear: it could mean the tails of the side bands (which I usually dispose around the center chignon anyway), or it could be the extra length left over at the top of the French twist. I'm inclined to think both: 1) because it's an easier way to deal with large quantities of hair than tucking 3-4 times its length into the top of the French twist (as is the modern custom), 2) the French twist is described as "flat", which it won't be with so much hair tucked into it, and 3) the proportions of French twist to braided hair in the illustrations I've found (admittedly of the more elaborate versions) would be very difficult with more than 1/3 of the hair smushed into the twist. None of these is conclusive, but let's see how it works.
--Arthur's Home Magazine 1854, page 238
 |
| Fancier coiffure from Harper's (1855) showing many braids arranged around a French Twist. |
Step 2: Gather up the back hair in one hand, smoothing it together (especially near the scalp).
Step 3: Twist the back hair gently several times, towards the center of the head: CW if the hair's gathered on the right, CCW if on the left. [For maximum confusion, the best pictures of this step and the next one were taken when I attempted the twist from the right, but the final 'do worked best when I tried it from the left. So, sorry about the pictures being backward. If it's a problem, the wikihow page has prettier pictures, just skip the hair spray for authentic nineteenth century styling.]
Step 4: Fold the twisted hair up, at the center back of the head (the loose hair end up at the top).
Step 5: Smooth the hair over the twisted portion. Secure with pins.
Step 6: For a modern French twist, this is where you'd tuck the loose ends into the top of the hair "cone" on the back of your head. Instead, braid, rope or twist the loose hair. I'll twist mine for now.
Step 6: Wrap the twisted/roped/braided hair around the outside of the French twist, pinning it in place. Tuck in the raw ends.
Step 7: Arrange the side hair as desired (such as the bands mentioned in the original article). Then take the loose ends and secure them around the back hair, as you did before. I braided the side hair behind the bands, in order for them to show up easier (they still get lost in the larger mass of hair).
 |
| French twist with twisted and braided hair around it. And really poorly concealed rats at the sides. Eek! |
 |
| And front view. |


No comments:
Post a Comment
Thanks for commenting!