Thursday, December 3, 2015

"Roping" the Hair, 1854

An alternative to a plait/braid or twist, is the "rope".  Instructions from Arthur's Home Magazine (1854), page 238:
"Roping" the hair is done by dividing it in two equal parts, and twisting one over the other, a kind of round braid, taking its name from the resemblance it bears when smoothly managed to a hempen rope or cable.
Step 1: Divide the hair into two sections.
Hair divided into two sections for 1854 rope style braid.

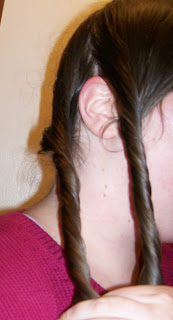
Step 2: Twist each section; as a right-handed person, I found it easiest to twist the hair counterclockwise.
Hair twisted for 1854 rope style braid.

Step 3: Bring the right section over the left.  If you twisted the strands clockwise, you'll want to bring the left section over the right, instead. (If you twist CW, wrap CCW; if you twist CCW, wrap CW).
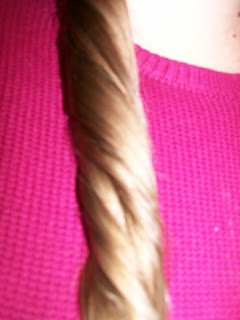
Twisted hair wrapped around.

If you wrap the sections in the same direction they're twisted, instead of a neat rope, you'll get a large twist of hair that won't stay together when tied off:
Do not wrap the hair in the same direction as it is twisted.
What not to do: twist the section
counterclockwise, then attempt to wrap them
together counterclockwise.
Step 4: Bring the new left section over the new right, repeating until the hair is all incorporated, or the desired length of "rope" is reached.  For long hair, it will be necessary to stop periodically and twist more hair before roping it.  I found a half twist as I moved each section over to be sufficient.
Rope in progress: wrapped the hair sections opposite the twist direction.

Step 5: Fasten off the "rope" with a thread, ribbon, or unobtrusive modern hair tie.
Roped hair.

I've still not found definitive evidence of how ladies' braided/plaited/roped up-dos were tied off in the mid-19th century. The advice books condemn thread for tying braids, and ribbons are mentioned for little girls' plaits, but I've not found an image of braid ends for adult women, nor is the fastening method explained.

Here's the colored yarn version of the "rope":
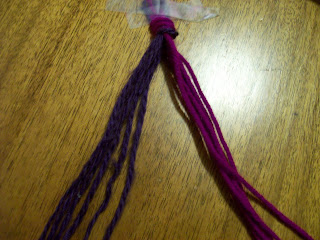
Yarn divided into two sections.
Make two sections.
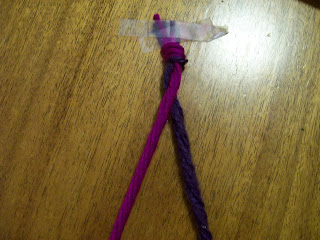
Yarn sections twisted.
Twist the two sections; here they're twisted counterclockwise.
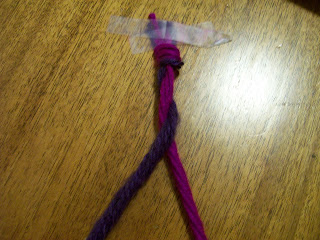
Right section crossed over left.
Bring the right (pink) section over the left.
Second rope step: left section brought over right again.
Bring the new right (purple) section over the left.
Rope in progress.
Continue moving the right section over the left; you can make
this continuous by passing the left section behind (to the right)
as the right section goes over (to the left).
Be sure to keep the sections twisted while this happens.
Yarn "rope" made by twisting two bunches of yarn to the right, then taking the left section over the right one.
The finished rope, correctly done.
Failed rope: sections crossed in the same direction as they are twisted.
An incorrect rope: the sections were wrapped in the same
direction as they were twisted, and collapse together.
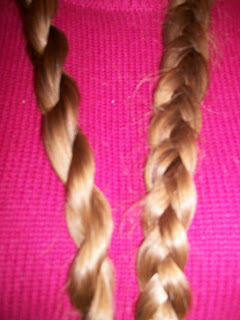
Not that it's needed, but here's the rope compared to a three-strand braid of the same size:
Hair "rope" compared with a 3-strand braid.

No comments:

Post a Comment

Thanks for commenting!