Thursday, December 22, 2022

Book Review: The Typical Tudor

 At long last: The Typical Tudor.

[Full disclosure: as an early pre-order customer, I did receive an advanced version of the chapters on men's jerkins and on women's coats & waistcoats, and also provided feedback on one of the round gown patterns.] 
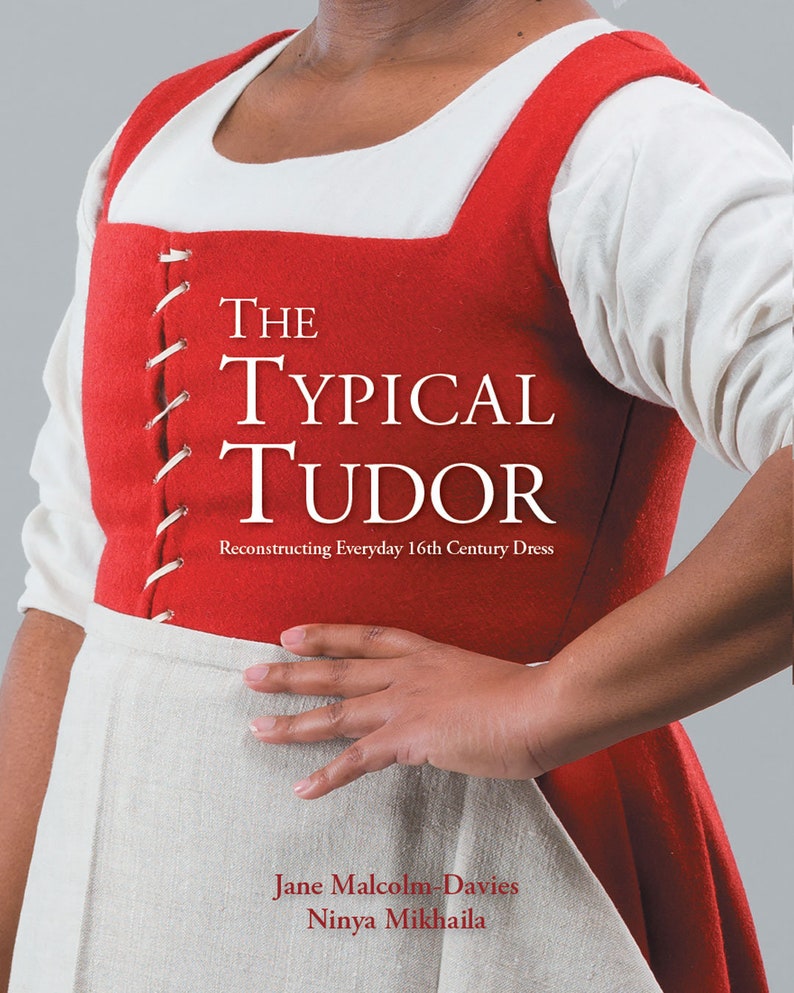
Book cover showing the torso of woman wearing a red front-lacing kirtle with a white apron and smock.
I ordered this in The Before Time. It was worth the wait.

The Typical Tudor: Reconstructing Everyday 16th Century Dress by Jane Malcolm-Davies and Ninya Mikhaila is the 6th book from the Tudor Tailor. I've previously reviewed three of their other works: The Queen's Servants, The Tudor Tailor, and The Tudor Child.

Chronologically, The Typical Tudor covers a lot of the same period as The Tudor Tailor. At 191 pages (excluding bibliography), this book is substantially longer than the other books from this publisher. Where it really distinguishes itself is in its meticulous research--to provide context to the garments, this book includes a very thorough overview of 16th century English economics and social class divisions. There's also detailed discussions of fabrics available (fiber, processing, finishing, price, usage), the cloth- and garment-making trades, trimmings, sumptuary laws, annual income by professions, etc. The first 35 pages are devoted to these topics, including many period illustrations, and photographs of surviving garments--as well as some excellent tables quantifying the extent garments which were researched.

There are 14 pages of general construction notes which include scaling the pattern grids, sewing methods, and knitting techniques. Next comes 135 pages of projects. These are grouped into 5 categories (undergarments, men's wear, women's wear, headwear, and others). Each grouping begins with a research overview including the evidence for each garment type, who was using the garments, the frequency of different materials/colors, and changes over the time period. Not counting variations, there are 40 base projects covering the beginning, middle, and end of the Tudor period for men and women: stockings, garters, hose, smocks, shirts, doublets, jerkins, kirtles, petticoats, coats, gowns, caps, coifs, hoods, aprons, and more. Knitting projects include stockings, sleeves, and caps. As in the earlier publications, each project includes line drawings and photographs of the reconstructed garments, a materials list, the pattern pieces drawn out on a grid (scaled down), and basic instructions for how to construct the garment.

In scope and topics, this book most closely follows The Tudor Tailor, and does include updates of some of the same patterns (like the woman's round gown and kirtle or man's hose). However, The Typical Tudor has benefited from an additional 16 years of research, and includes both new garments and updated interpretations of others. One notable update was the different shapes and construction methods for the coifs. The "everyday dress" aspect of The Typical Tudor puts an emphasis on the garments worn by the working class and gentry, which comprises a huge swath of the population: the only groups that are really excluded are the monarch's family and upper nobility/clergy.

This book also incorporates some features I that appreciated from its more recent predecessors. Like The Queen's Servants (and I presume, The King's Servants), each project is accompanied by pie graphs showing the most common colors and fabrics used for that garment.* Each project also has a small chart the year-range and social class to which the garment is appropriate, which was a feature I appreciated in The Tudor Child.

Project drafts and instructions are suitable for intermediate to advanced sewists; scaling up and fitting the patterns will be needed, though instructions are provided. If you've worked with any of their previous titles, this is very similar to the writing style in those. The only problem I've found with the book is a cut-off sentence on page 87 at the end of the research on Men's Doublets.

I would honestly recommend this book for anyone doing any form of 16th century costuming. Even if you're looking to recreate nobles' garments from the reigns of Henry VIII-Elizabeth, I think the techniques and shapes provided give a more more historically-grounded starting point than any other reference book I know of.

*From the research the authors conducted, which included documentary evidence from wills and inventories, as well as surviving garments.

**The exception being, that if you're looking for nobles' attire in the reign of Henry VII, I would steer you towards The King's Servants and/or The Queen's Servants.

Stars: 5

Accuracy: High. This is easily the most thoroughly-researched (and certainly the most thoroughly-cited) costume book I have encountered to date.

Skill Level: Intermediate, tending Advanced

Strongest Impression: Incredibly scholarship; this book is full of accurate detail, while also providing fairly user-friendly instructions and diagrams. 


Sunday, December 18, 2022

Ribbed Muffatees c.1845, on CSM

Actually completed a few Christmas presents before the holiday this year, though most of my friends are still on track for New Year's presents. Or Groundhog's Day.

 
I knit these on my circular sock machine, based on these hand-knitting instructions:
Ribbed Muffatees 
No 12 PINS. Cast on each of three pins about twenty four loops, or any number according to the size you intend to make your muffatees, and with the fourth pin pearl four stitches and knit two alternately; every round is the same. They are generally made about five inches long." --The Practical Companion to the Work Table (1845)

The 1844 edition uses the same 4-2 pattern for "Lambs' Wool Muffattees", made to any desired length.

Tranlated to my Autoknitter, I set up a 4-2 mock rib on the 60-cylinder, with the tension set to 5L4. To knit, I made a narrow hem (knit 2 rows, pick up the first and knit the 3rd row together), then cranked 50 rows in the round. I then knit 14 rows flat to make the thumb-gap, and finished with 10 rows in the round. I used the double-pass off-machine bind-off on the top edge.

The material used for these muffatees was Knitpick's "palette" fingering-weight wool, in the currant colorway.

Tuesday, December 13, 2022

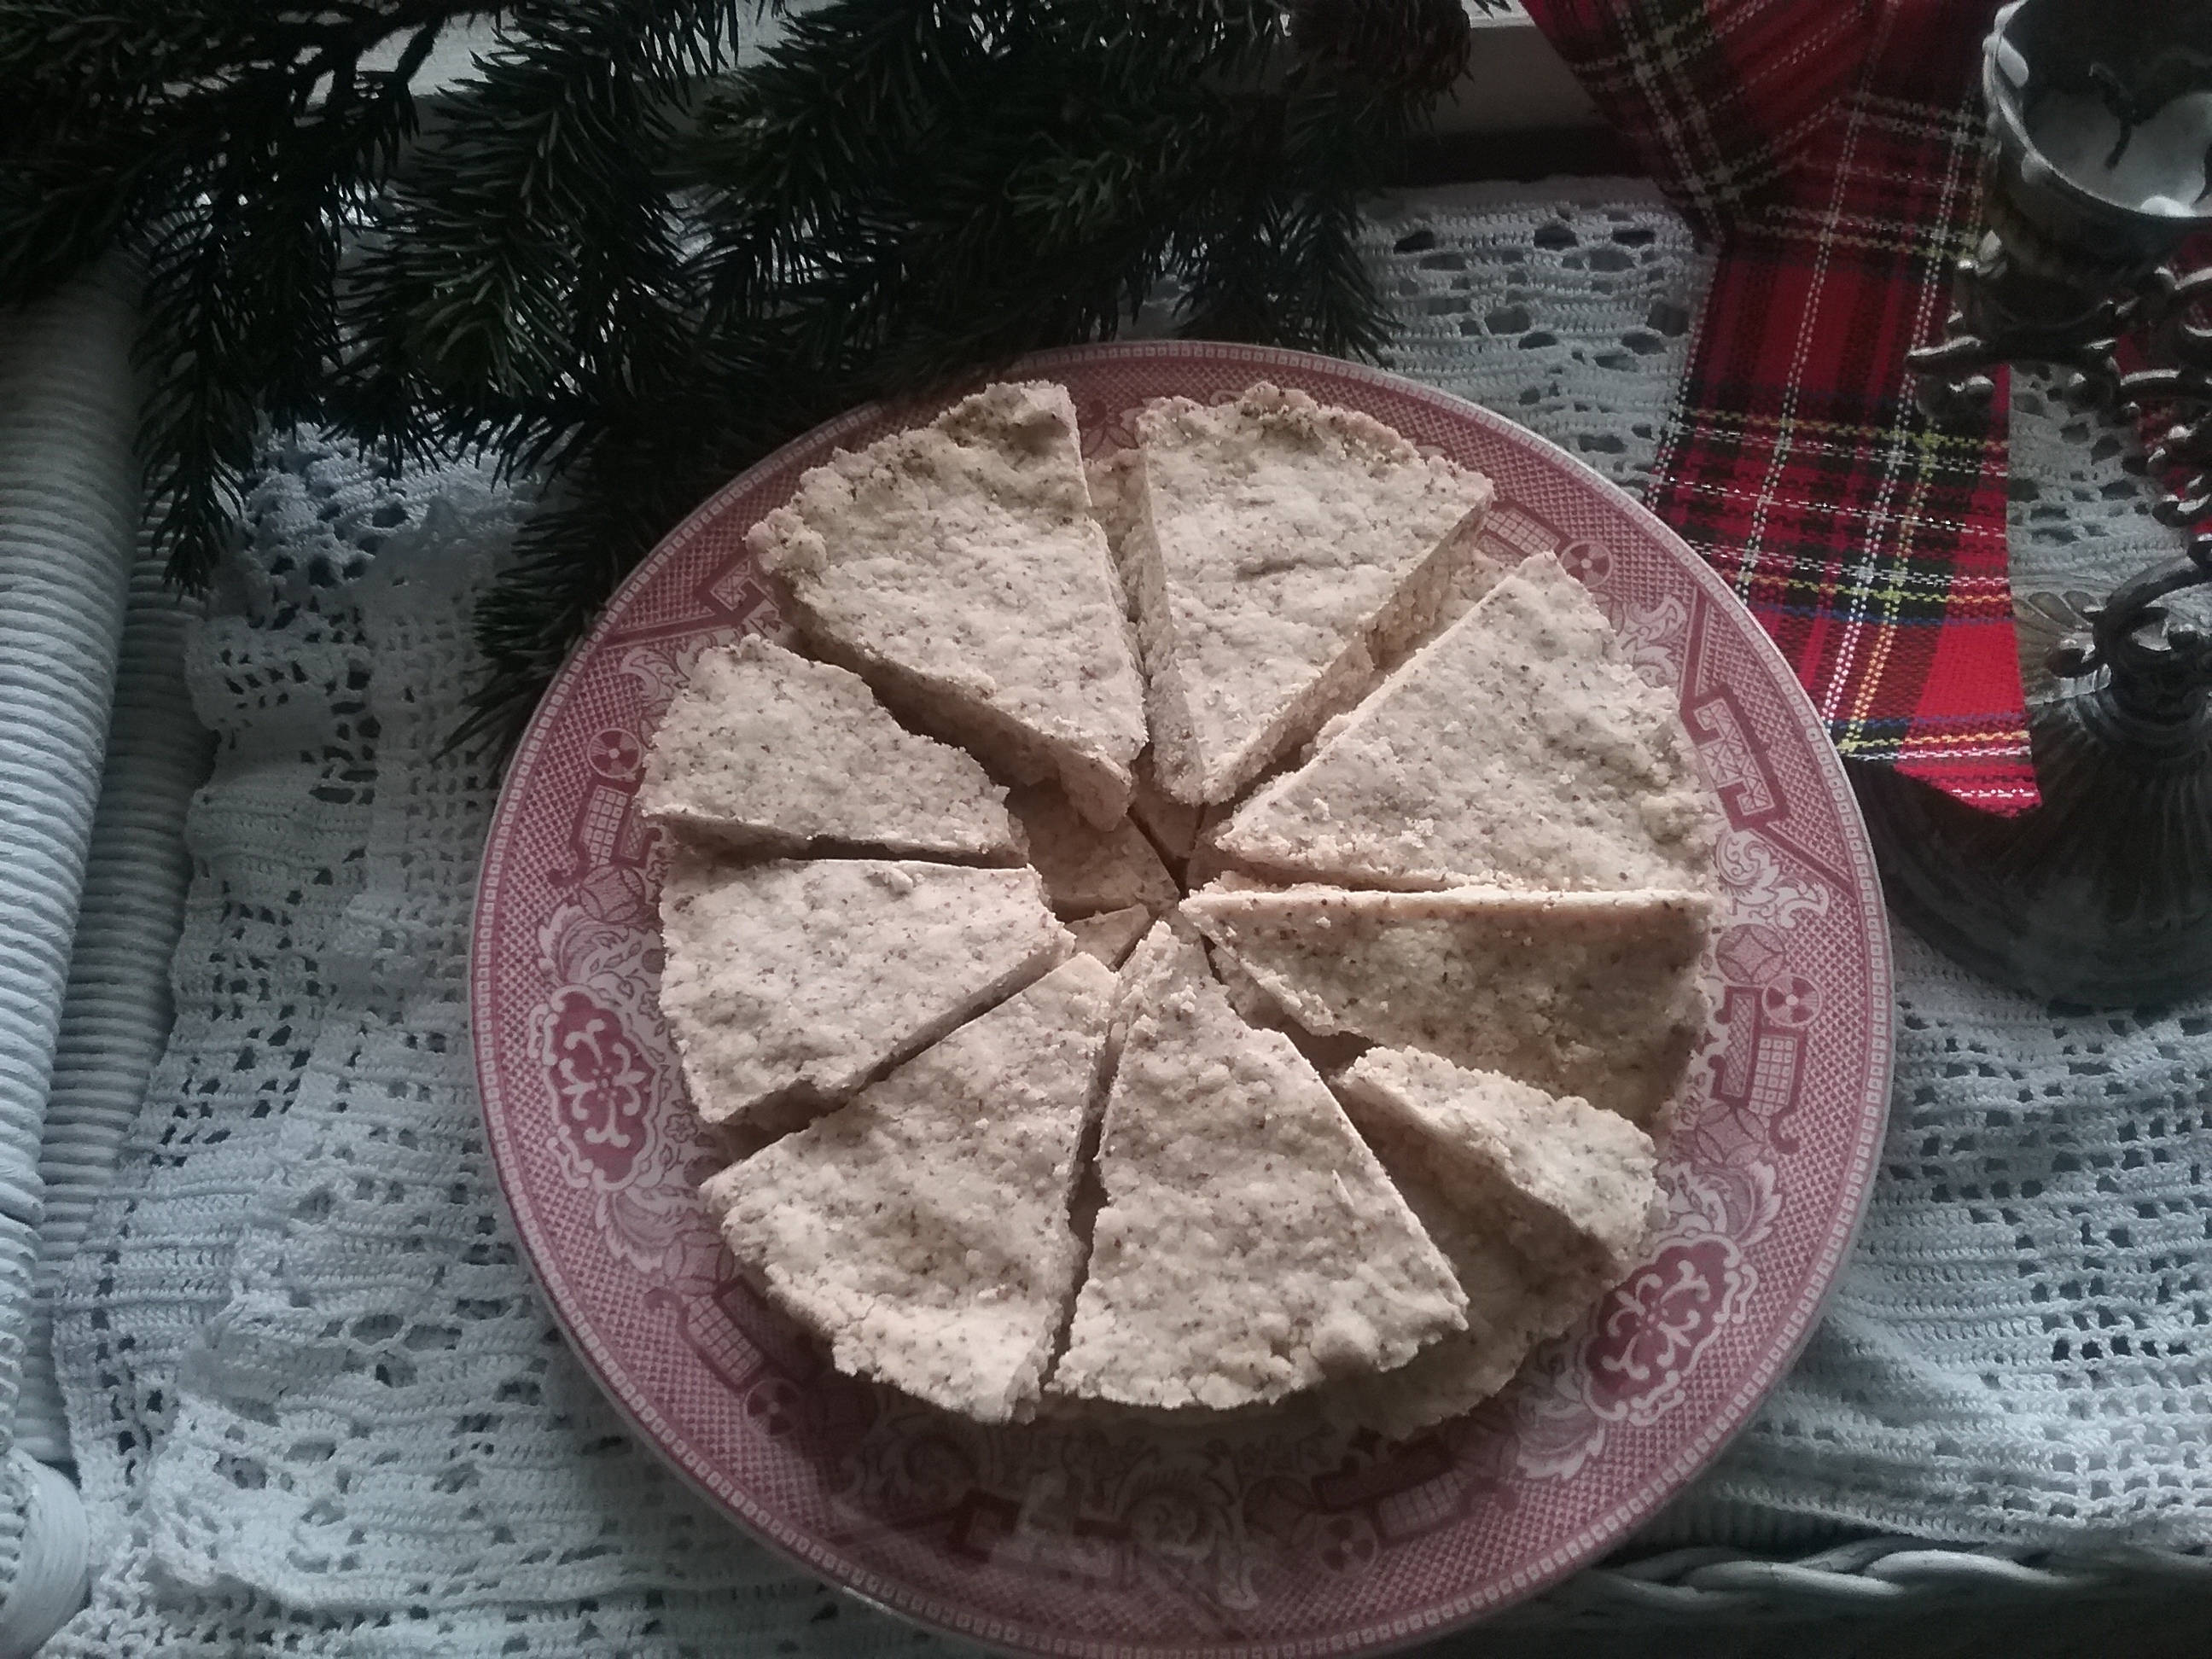
Scottish Shortbread, 1845

Also for the recent holiday event, Scottish Shortbread (Excellent) from Eliza Acton's Modern Cookery (London, 1845). 

Shortbread. Not quite excellent.

I made a whole batch: 1 lb (~3.5 cups) all-purpose flour, mixed with 1 oz of orange peel, and 2 oz of granulated sugar. I melted 8 oz of butter and combined it with the dry ingredients, making a dry dough. I baked the shortbread at 350F for 20 minutes. ["Mold it onto tins" was a little weird, so I went with "press the dough into two pie tins."]

The shortbread was alright. It mostly held together, had a decent texture and taste. There was a slightly off aftertaste which I suspect was the peel (instead of homemade, I used a jar of purchased peel, which I don't think I'll do again).

Compared to the last receipt I used, all the cookbooks I found this time specified that the butter should be melted (which made it much easier to incorporate versus cutting in solid butter as for pie-crust), and also called for citron, candied orange peel, and/or caraway seed to flavor and adorn the shortbread. I recall making shortbread with only butter, sugar, and flour (and eggs?), with the orange peel being an optional decoration, so know I'm wondering where I originally found that receipt. I thought it was Beeton's, which I was using a lot when I started out, but her receipt definitely calls for almonds and candied peel, even in the caraway is optional.


Saturday, December 10, 2022

Molasses Gingerbread, 1798

Revisiting this receipt from Amelia Simmon's American Cookery (1798, 2nd ed) which I originally tried in the third season of the Historical Food Fortnightly.

Upside: I finally have pearlash to experiment with. 

Downside: I miscalculated the amount of molasses, and ended up substituting in honey for about half of the volume. I also managed to put in only half the required butter.

Neutral: On my second time making this dish, I finally realized that there's no ginger in the receipt.

Mixed together 2 lb (~7 cups) all-purpose flour, 1 Tbsp cinnamon, and 2 tsp cardamon, cut in 2 oz unsalted butter (should have been 4 oz), then stirred in about a pint of combined molasses and honey, and finally 8 oz of cold water with 4 teaspoons of pearlash dissolved therein. I mixed this into a sticky dough with a stand mixer (which was basically at capacity), then worked the dough by hand to incorporate the last of the dry ingredients. I pressed this dough into a 9"x13" glass sheet-cake pan (buttered), and baked it for 30 minutes at 350F. 

The gingerbread had a perfectly decent texture; the tops were pretty ragged, which made me second-guess whether the dough was too dry. I definitely could taste the honey, which was fine, but just not quite how it's supposed to be.  All in all, this is a perfectly serviceable gingerbread receipt, and relatively quick and easy. 


Thursday, December 1, 2022

Original: Muff and Collar

Warm accessories for a cold December day:

Lambswool muff and collar, 1850s. LACMA.


Friday, November 18, 2022

To Boil Chickens, 1846


A purple transferware plate containing a chicken wing covered in parsley, mashed potatoes, and small pieces of boiled parsnip.
Boiled chicken with drawn butter and parsley.
And potatoes and parsnips.


Tried another approach to boiled chicken, this time from The Young Housekeeper's Friend (Boston, 1846):

To Boil Chickens.---STUFF them with the same as directed for a boiled turkey, or boil them without stuffing if preferred. Skewer them up into a good shape, as when prepared to roast, and boil them one hour. Eat them with drawn butter and cut parsley. It is an improvement to mash the livers and put into the butter. If they can be carefully skimmed, they need no cloth around them.

It's not horribly dissimilar from my last attempt. I did take the receipt's permission to not stuff the bird, and to omit tying a cloth around it. The skewers rather defeated me, though I did manage to tie the drumsticks. I skimmed the fat off the water as indicated, and threw in some marjoram in a nod to the boiled turkey receipt on an earlier page. I also boiled the chicken for 1 hour rather than 2--and it still was soft enough to fall apart when I tried to lift it from the water. I set the chicken in a low oven (325F) to dry while I made up the sauce, which improved it nicely. Salt and pepper were added before serving.

For the sauce, I made drawn butter with parsley per the instructions on the following page:

To Make Drawn Butter.---TAKE a teacup full of butter and rub into it a half a table spoonful of flour, or the starch which is made for puddings, then pour upon it about a teacup full of boiling water, stirring it constantly. Set it upon the coals and let it boil up. If it is suffered to remain boiling it will become oily. Some persons prefer to add two or three spoonfuls of milk. When melted butter is used with boiled fowls, lamb, veal, or fresh fish, it is greatly improved by the addition of parsley. Tie a few sprigs together with a thread, and throw them into boiling water two or three minutes, then take them out, and cut them fine and add to the butter.

I made the mistake of chopping the parsley first, but saved it by use of a tea strainer. The boiling water turned faintly green as a result, but the parsley did not visually change much. Meanwhile, I took 4oz of unsalted butter, rubbed it over 1/2 Tbsp flour, and set it on the stove with 4 oz boiling water. I stirred the butter together, allowing it to come up to a boil once, then stirred in the parsley. I found the sauce greatly improved by a pinch of salt (it was pretty insipid without this addition); I really need to remember to use salted butter in these sorts of things in the first place. I did not mash the chicken liver for inclusion in the butter, because I didn't particularly want to.

Overall, I found this dish perfectly palatable. Compared to the last time I boiled chicken, I was pleasantly surprised at how well it turned out. I think the drying the chicken in the oven really added something to it--though the shorter boiling time may also have played a role. The butter and parsley was quite tasty on the meat and both vegetables (once that salt was added), and the whole cooking process felt less onerous than it seemed like it should. I certainly have a high opinion of boiled chicken than I did after the last receipt.

Tuesday, November 15, 2022

First Pair of Stockings

And my first pair of stockings on the Auto-knitter. I used the 80 cylinder, no ribber, and 4 oz of pale blue Jaegerspun fingering weight that I found in a thrift-store grab bag. The gauge was a bit off from my swatch, so I ended up cutting down the top of stocking #1, reducing the row-count on stocking #2, and subbing in a second yarn for the toe of the second stocking.


Historical accuracy on this piece is a bit...complicated. The use of a hem-top is recommended for wool stockings in the 1850s literature. However, the short-row heel is a 20th century standard for csm stockings. These stockings further differ from a handknit 1850s stocking in the heel shape, the lack of a back seam (ie, a purl stitch worked at the center back in opposite rows), and the manner of in which the leg is shaped (tension changes rather than reducing the number of stitches). However, circular knitting machines did exist in my target time of the late 1850s and early 1860s, used commercially and sometimes in the home. Like mine, these machines knit stocking without adding/reducing stitching and with no back seam. However, I haven't found pre-1868 instructions for a csm which use stitch tension to shape the leg, or knit the heel on the machine; instead, c.1860 machines produce only straight tubes, which need to be hand-finished at the band, and cut/sewn to shape the heel and foot. There is no leg shaping, and different sizes are achieved by removing needles to make mock ribs.

Which is a round-about way of saying that I have some lovely 1920s-to-present style basic stockings, which are slightly anachronistic for the 1850s/1860s in their heel/foot shaping techniques, and in the variable tension used to get a good fit through the leg (which is ok by ~1868). I'll be using them for earlier anyway, because this is my only option to get knit stockings that fit my legs comfortably, and the anachronistic elements are all well-covered by my shoes. I do have some ideas for making more accurate-to-the-1850s stockings on this machine, but it will involve mastering some more complicated heel variations. And manually making the seam.