With the caveat that lots of projects can require more or less fabric, here's the "rule of thumb" measures that I use when I find an interesting fabric for future use. Obviously, if you are looking for fabric for a specific project, the yardage can be more precisely calculated by laying out the pattern pieces.
Given my eras of interest, these measures are mostly based around the middle of the 19th century (1850s into early 1860s); when an era is not specified, it generally means this time period. Most of the values given are minimums that I would need to comfortably make item, with only a little piecing for elements like piping; it may be possible to squeak through with less fabric, but additional yardage will be needed for matching patterns, adding self-trim, or for particularly capacious cuts like trains, flounced or swagged skirt layers and hanging sleeves.
Skirts and petticoats (1850s-1860s) are calculated assuming 3 panels cut 45" long and faced with a different fabric (for 54"-60" wide fabric), or 3.5-4 panels of the same length (if 44" fabric). Linings are not included in the base fabric measures.
Cotton Calico (assumed to be ~44" width)
1/2 yard, fat quarters, or small remnants work well for doll
clothes and small crafts
~1.5 yards for a sunbonnet
1-2 yards for an apron
3-4 yards for an 18th century petticoat (skirt)
5 yards for a Regency/Empire
dress
6-8 yards for an 18th century gown (can vary
greatly based on style)
7-8 yards for an 1850/1860s dress
Light-weight cottons (such as lawn, organdy, and
batiste)
1/2 yard: collars and cuffs; under-sleeves; or an 1850s cap
1 yard for a basic chemisette
2-3 yards for a fancy apron
2.5-3 yard pieces for blouses (white waists)
3 yards for an 1850s basque bodice or mantle
3.75/5 yards for an 1850s skirt without a bodice
(54"-60" wide/ 44”)
4-5+ yards for an Empire-style dress (4 yards min for
60" wide fabric, 5 yards min 44"
wide)
7-8 yard for a sheer 1850s dress (for a 60" wide
fabric, I can get this down to 6 yards)
Cotton broadcloth (44" wide)
Can be used for collars, cuffs, undersleeves, and
aprons, same yardage as “light cottons”
2 yards for Victorian drawers
3 yards for chemises or a corded petticoat (including tucks
or a facing for the cording)
4.5-5 yards for a basic 1850s petticoat (increase yardage
for decorative tucks, etc.)
Cotton Coutil/Twill (54”-60” wide)
1-2 yard for a corset depending on size and style
Linen (weights vary by project type, 54"-60")
½ yard – 1 yard pieces of fine linen for caps, coifs, kerchiefs,
or ruffles
¼ yd -1 3/8 yd for early modern ruffs
1 yard for a medieval through 18th century apron
(1/2 yard if pieced)
2 yards for a Regency chemise; or a large medieval veil or
fancy 18th century cap
2-3 yards for a basic 18th century petticoat (3 for
an over petticoat)
3 yards for a medieval or Early Modern smock, or a Tudor
sleeveless kirtle
Wool (tropical weight suiting 54"-60" wide
unless noted otherwise)
As little as 1/4 yard of wool lasting can make the uppers
for a few pair of gaiters.
½ yard for a Tudor partlet
1-1.5 yard for an Empire-style spencer
1.5 yards sheer wool for a capeline bonnet (generally
green or black)
2 yards will make a square shawl (1.5 yards of
54")
3 yards of wool flannel will make a flannel petticoat or a
man's overshirt
3 yards will make an 1850s basque bodice or jacket; or a Tudor kirtle or a medieval surcote (no sleeves)
3 yards of heavier coating wool will make a moderate-length
mantle, cloak, or coat
3.75 yards will make an 1850s skirt
4 yards for medieval cotes and similar garments, Tudor gowns
(4.5-5 for a safer margin sleeves), and Regency redingotes or pelisses.
6+ yards will make an 1850s dress (or, if wool flannel, a
bathing costume)
Silk (taffetas unless otherwise noted, assume 54”-60”
width)
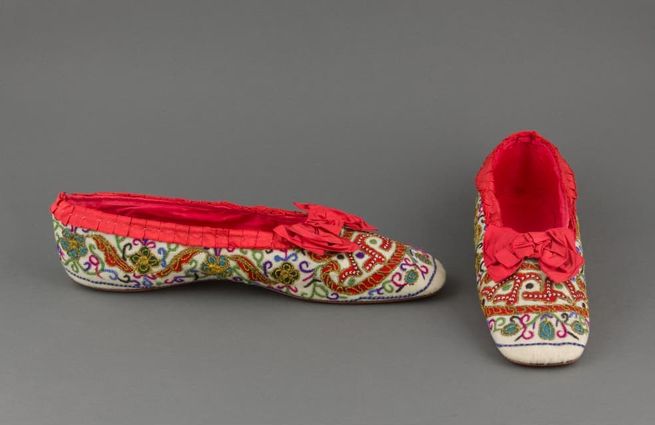
1/4 yard for dancing slippers (often satin) or silk gaiters, small crafts and trimming projects
1/2 yard pieces can be useful for trimming bonnets, most
reticules, or making small crafts
1/2 yard organza for a fancy 18th century apron, ½-1
yard for a cap, 2 yards for sleeve ruffles
1/2-1 yard for covering a Victorian parasol frame.
1yd makes a bonnet, shaped belt, or trim for a dress
1.5 yards should be enough for a Tudor front-piece (check finished length of skirt)
3 yards for a 1850s basque bodice, mantle or jacket; or for lining a short cloak or paletote
3.75 yards will make an 1850s skirt
4 yards for a Regency day dress (may be able to squeak a ball gown with short sleeves out of 3 yards)
4-5 yards for a Tudor gown (4.5-5 for a safer margin sleeves)
6+ yards will make an 1850s dress or basic 18th century gown (more needed for layered effects like polonaises)